


Positional aspects of action chess.
In part four, we rather generally discussed the combined interaction of a knight and a bishop. The execution of the combination is the easy part. Correctly positioning the knights and bishops for the combination is the hard part.
The positioning of the knights.
We have already raised this issue in part three. Whenever the opponent places pawns in the shape of the letter V, you get good squares for the knights:

In any of the squares marked with blue, the knight will become
a wonderful outpost. Why? Because from these fields, the knight attacks the backward black pawns (b6, d6, f6). We recommend placing the knights on the fourth horizontal, because from there they can
attack the black pawns, remaining relatively safe from the opponent's threats.
Thus, you should move two pawns forward to protect the knights from attacks of other pawns.
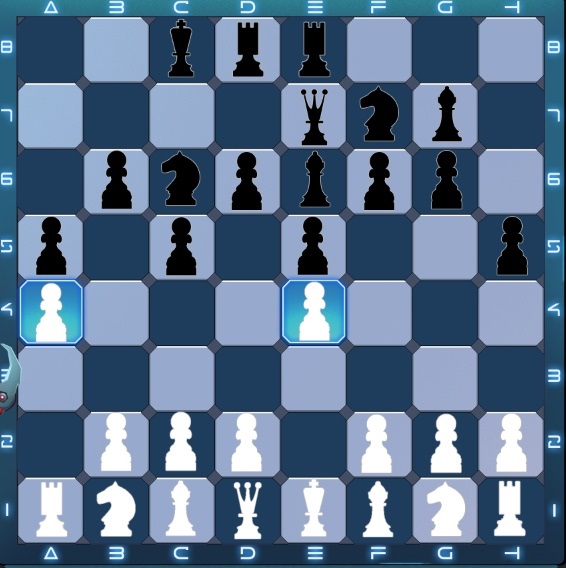
These pawn moves allow the knight (or bishop, if you are inclined to do this) to go to c4 without fear of attacks from pawns b and d.
So, this is a quick overview of the successful arrangement of knights, as described in part three. But what will you do if your opponent is not so kind as to arrange pawns in the shape of the letter V and provide excellent squares for your knights?
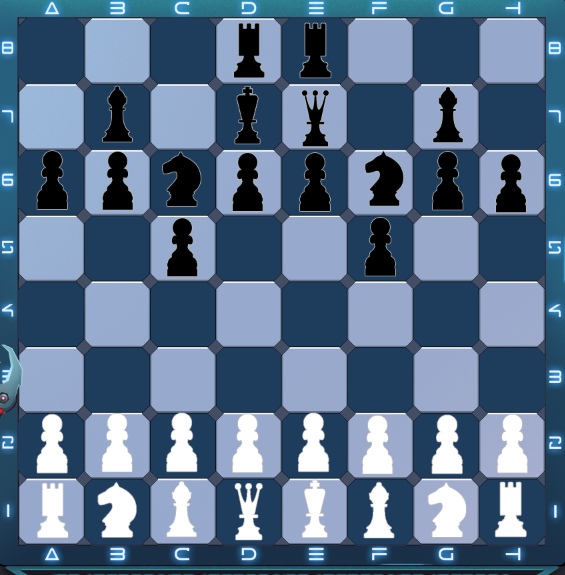
This time there are no safe squares on which the horse can immediately be hoisted. So you have to create them. One way to do this is to change the pawns until a suitable square appears.

If White plays the opening quickly, he can take the black pawn f5:
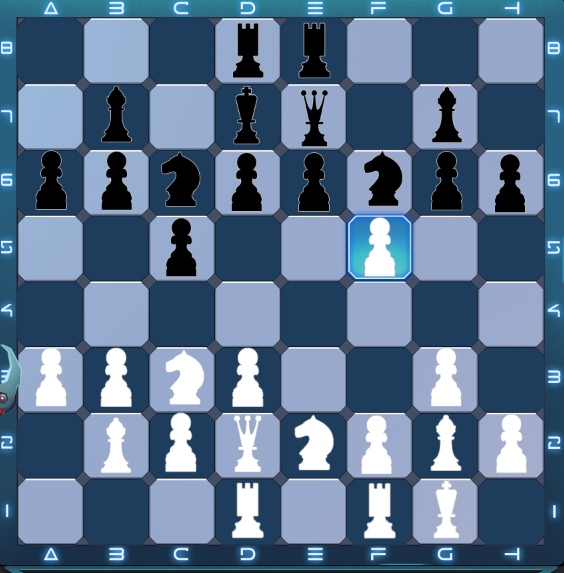
Black now has two ways to take back a pawn. If they take the e-pawn, they give White a good square for the knight:

Notice how the pawn h went ahead to protect the knight from the attack of the g pawn (if Black plays g6-g5). This should be done before the knight moves to avoid losing it.
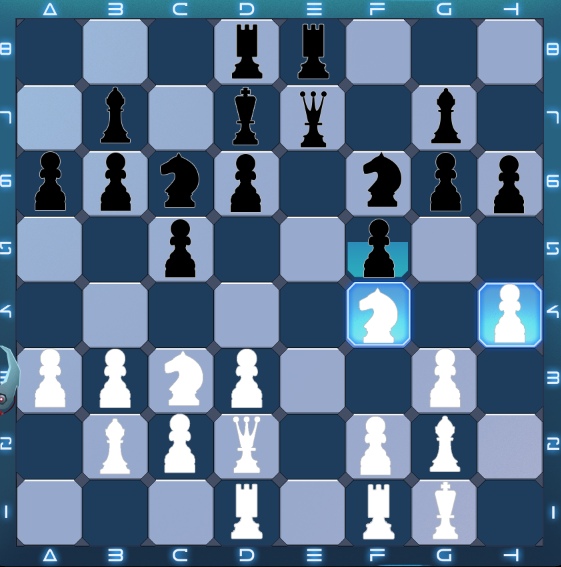
If Black takes the g-pawn on f5, they will get a weak isolated pawn h:

Nevertheless, this is the best option, since it leaves the f4-square inaccessible to the white knight (the e-pawn can go to e5).
If the exchange of one or two pawns does not open the squares for the knight, be patient. Sooner or later they will appear. Remember, you want a field where you can attack backward enemy pawns.
The positioning of the bishops.
There are several things you can wish for your bishops: to build them for a joint combination with knights and/or to bring them to open diagonals.

In this position, the V-shaped position of the black pawns gave White two magnificent squares for the knights. Black is forced to defend. The white-squared bishop stands perfectly. He controls a large diagonal a1-h8. The black white-field bishop is also well positioned. The white black-squared bishop is not bad: at the moment, he, along with the d4 knight, looks at the queenside pawns to pick up two at once. But he can threaten with a similar combination on the other side of the board:

And what, we never said that it is difficult for bishops to find a place.
Another positional aspect arises here: do not place your pawns so that they block other allied pieces.
This pawn is meant here:

If this pawn had not gone so far ahead, then Black would have formed an excellent d5-square, where he could have put a black knight. At the same time, this circumstance would give Black the black-squared bishop some space for a maneuver. In this situation, he is limited by his pawns. And such terrible pawn moves are found regularly.
Remember, unlike other pieces, a pawn, moving forward, cannot go back. Therefore, do not make moves with pawns that limit your pieces or take away the fields on which knights or bishops can be more profitably positioned.
Strategy Examples in Click-Storm Action Chess. Part 10
Other Click-Storm Action Chess content is in the article below:

Last Opinions