
The Russian Lost Ark has begun, this guide will show you the quick process needed to have Lost Ark ready to go. Compared to KR, setting up the RU client is quite easy.
This guide will not show you how to obtain a key or account.
You can go to the official RU Lost Ark website to register for an account. Also, you will need the Game Launcher (download link).
VPN is needed if you are playing from outside of Russia.
VPN Guide
There are two options for using a VPN with Lost Ark RU, either use the built-in one or use a dedicated VPN. The built-in VPN has been known to work with different people. For dedicated VPNs, Exitlag is recommended however there are other options as well. Both methods will be shown here.
Built-in VPN: First make sure you have installed the Mail.ru Game Center from here to a desirable location.
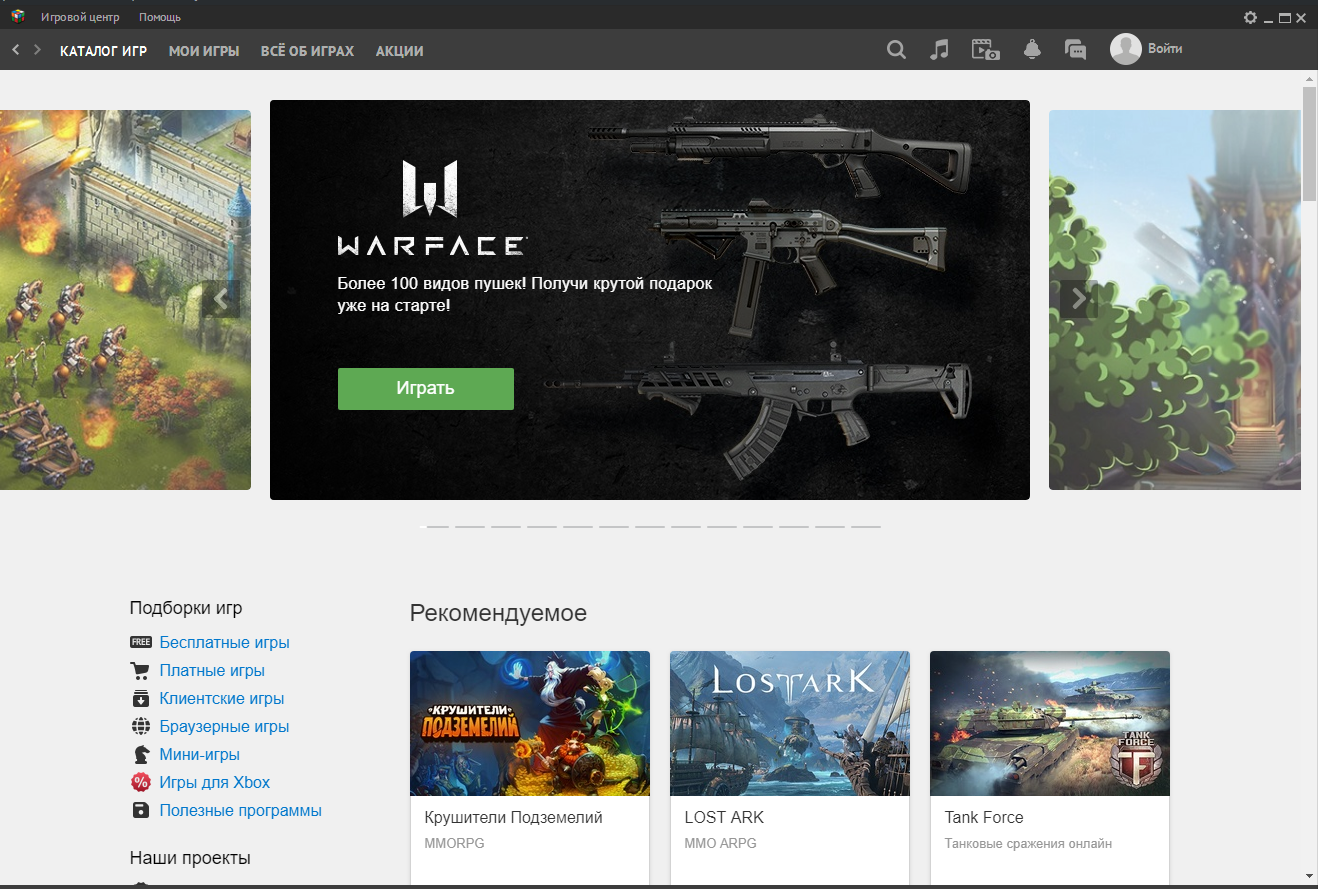
The launcher should look like this when running:
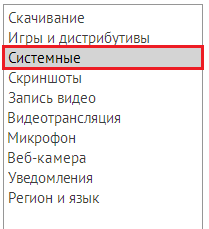
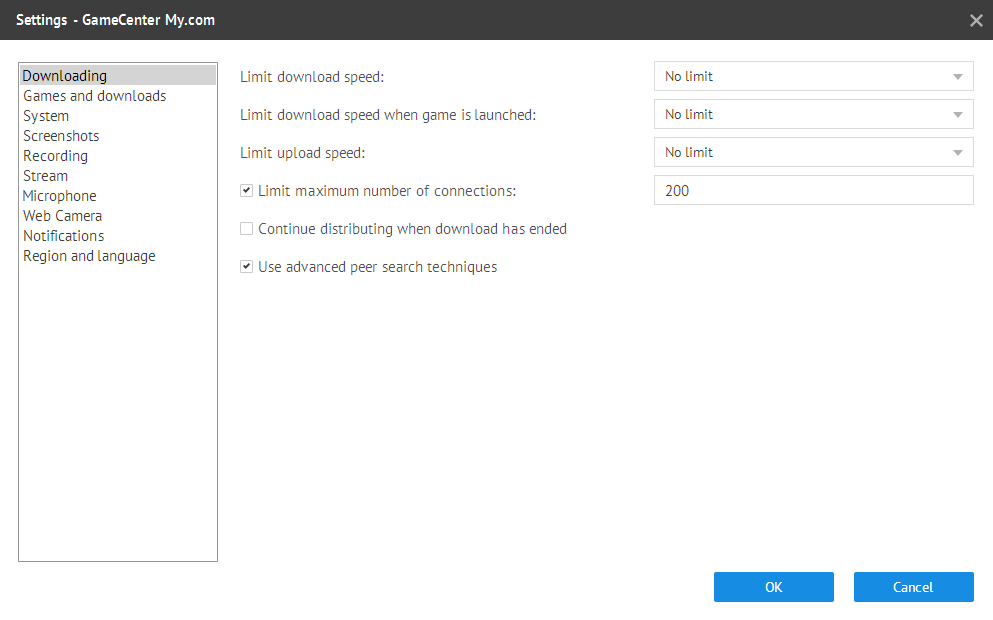
Click on the cogwheel on the top right for settings and select the option shown below in the picture:
Select the option highlighted in red and choose between L2TP and PPTP:
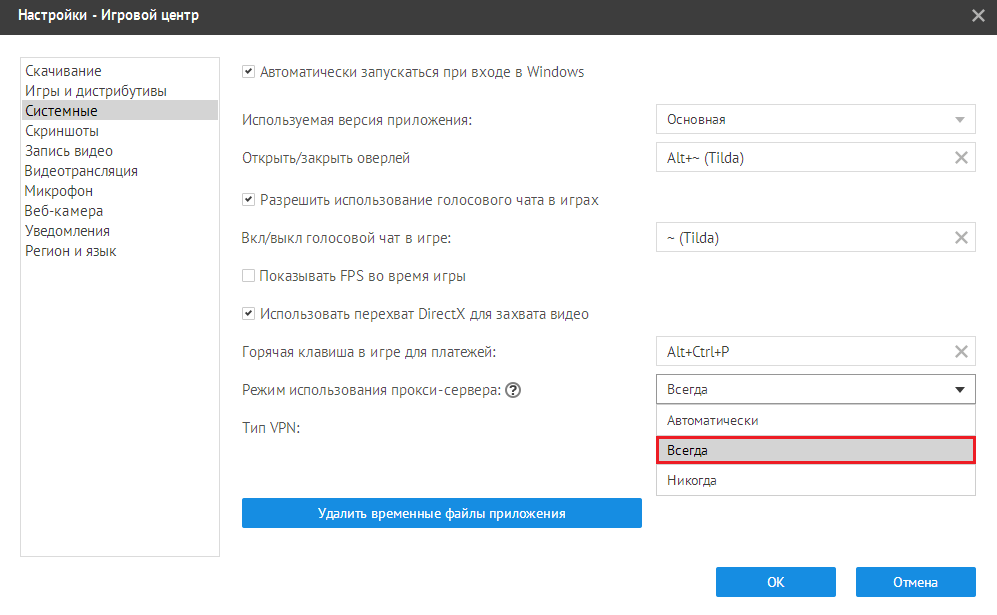
The difference between them is that L2TP is more secure however may be a little slower than PPTP. After selecting the correct options, click OK.
Add Lost Ark as a game to My Games and then navigate to it. There will be an option for VPN circled in red below. Click on it and let it connect.

If this option does not work, then the other choice is to use dedicated VPNs like ExitLag. Whichever VPN that you decide to use needs to be able to connect to Russia. ExitLag has a 3-day trial if you are a new user. You can also get a discount on your ExitLag purchase if you use the code “LADB”.
Exitlag
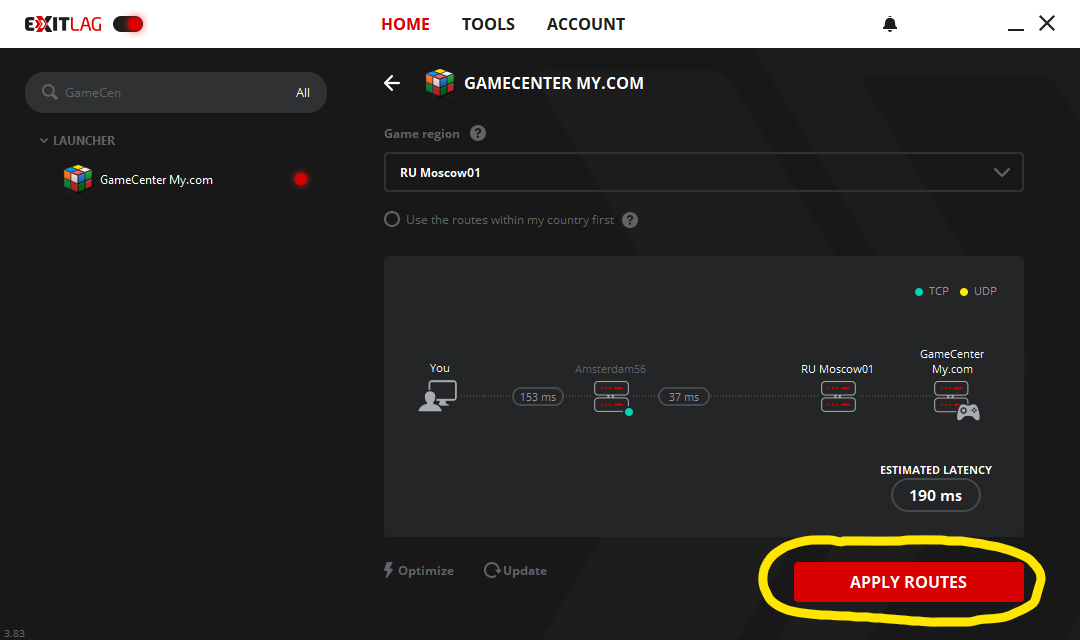
Start up your ExitLag and let it analyze routes. Once ready, you need to add the GameCenter launcher and Lost Ark RU to ExitLag.
Choose Moscow and apply the routes. Make sure to click APPLY ROUTES for both.
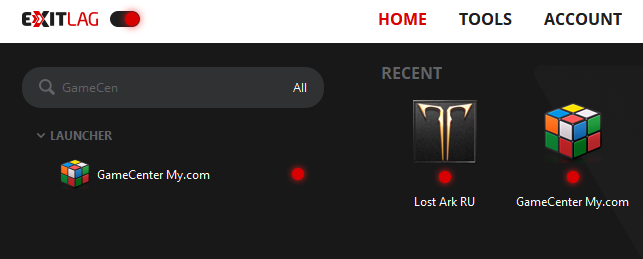
Once the red dots for both Lost Ark RU and GameCenter are on, the VPN should be running for those two applications.
The next step is to login and start the download by clicking:
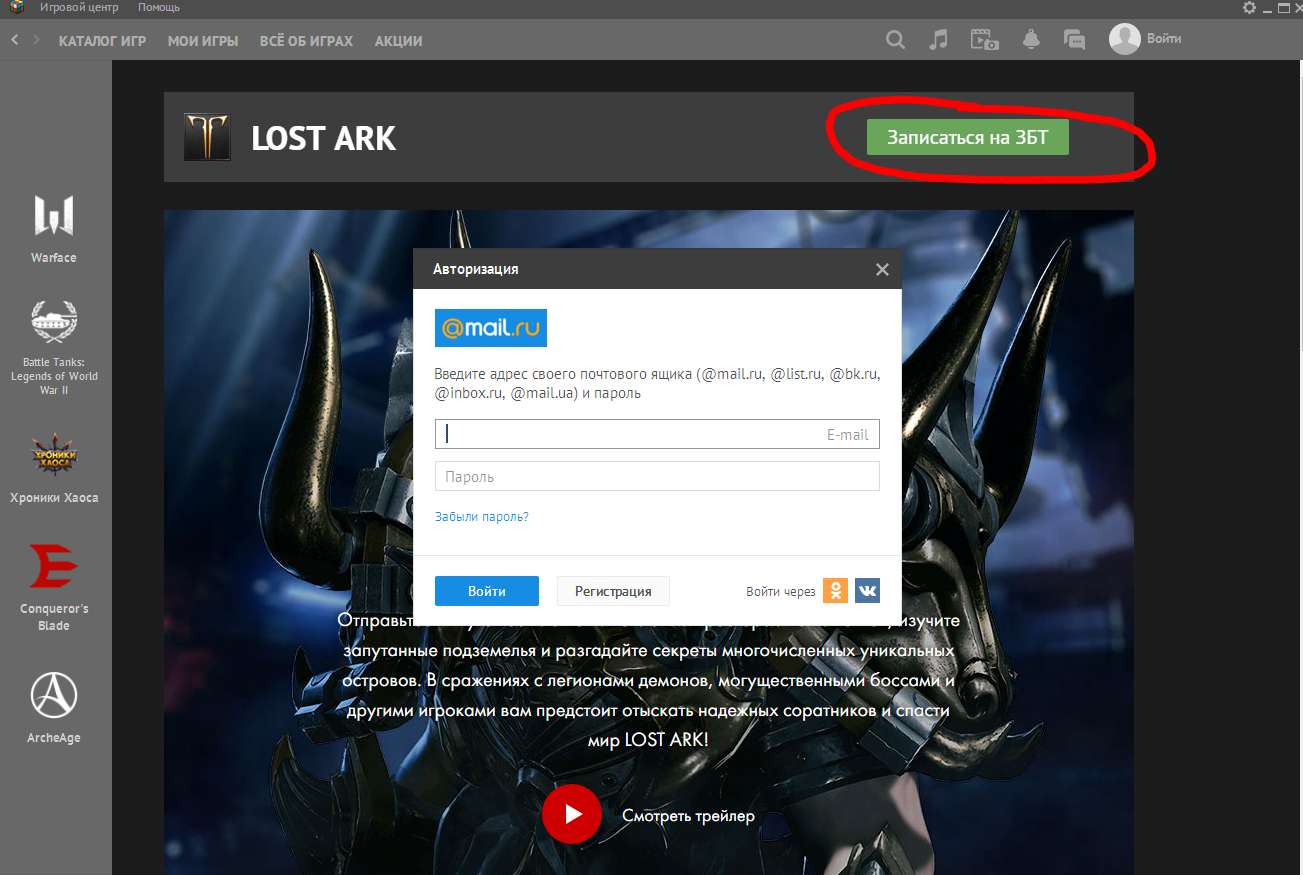
After logging in, the download should start. If not, click the green button again. The details of the download should appear on the bottom left of the launcher.
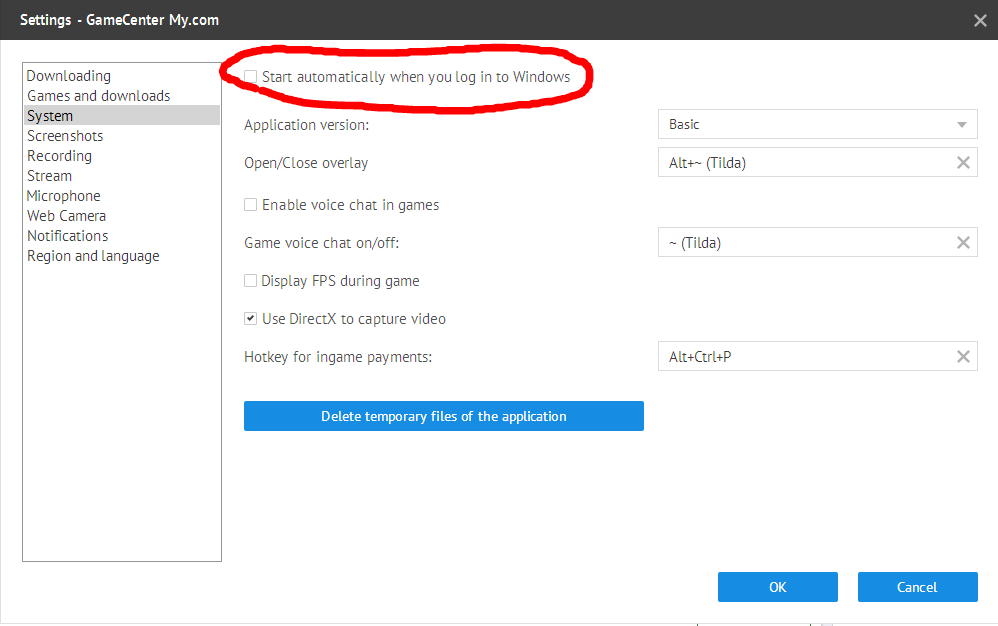
You will also want to make sure that GameCenter does not start on its own without a VPN (the instruction on how to do it is written below).
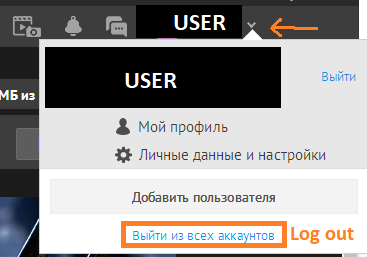
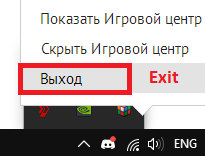
After you are done playing, make sure to log out and exit the launcher properly:
Game Center Settings in English:
It is possible to change the GameCenter language to english by editing a file.
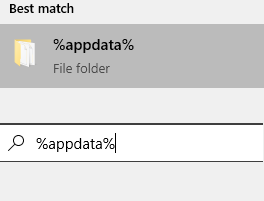
Go to your appdata folder by searching %appdata% into Windows.
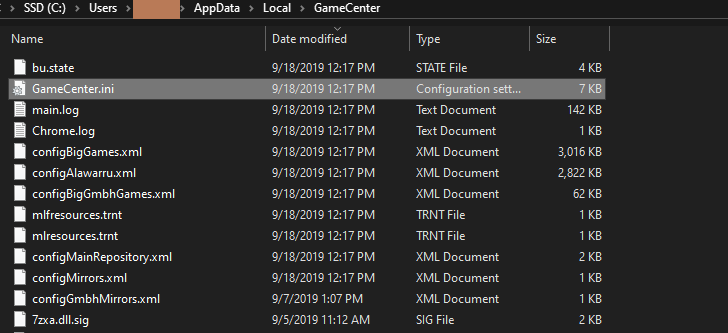
Go to AppData\Local\GameCenter and open GameCenter.ini with any editor.
After opening it, go to [Main] section and make sure “AppRegion = 188” to keep it in RU region and then edit the Lang to en.
![]()
If you don’t see this under [Main] just add it. Lang=en.
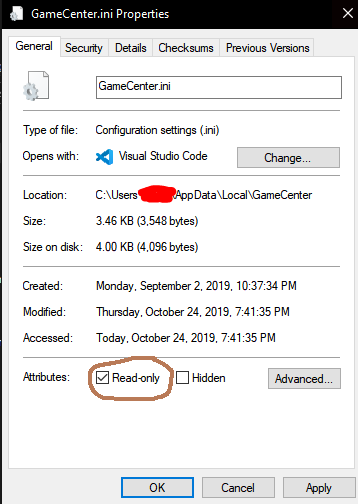
Save and exit the editor, right click the file and go to Properties. Check the Read only option and hit apply.
Launching GameCenter should show up in english while keeping the launcher region in RU. All Done!
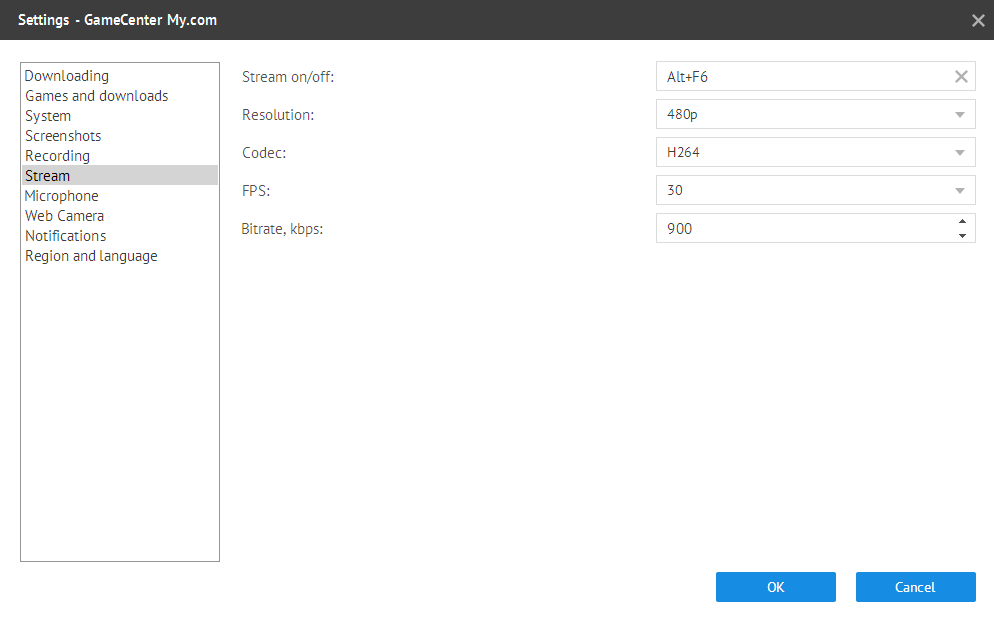
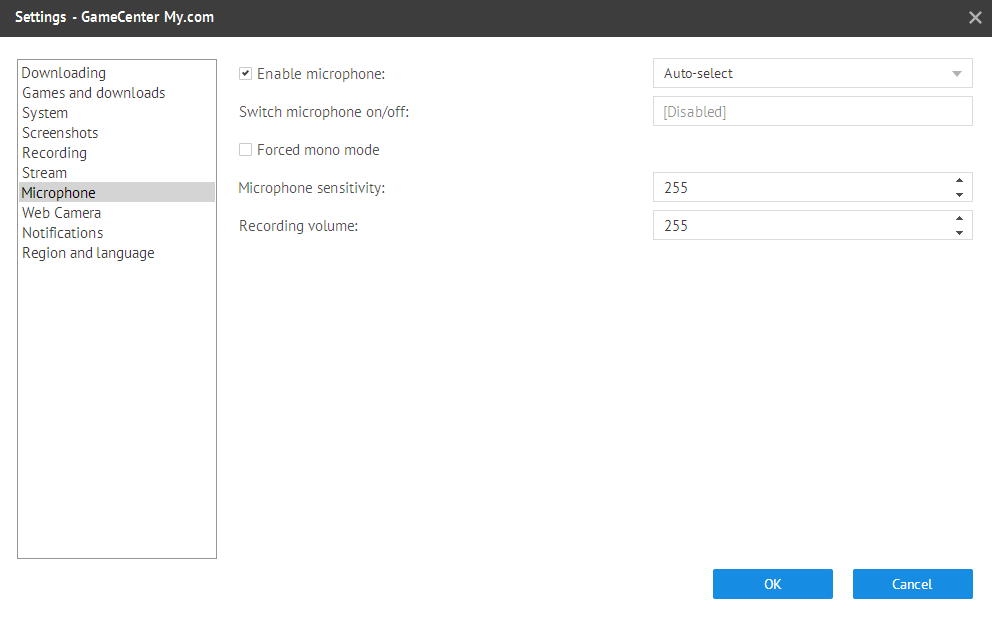
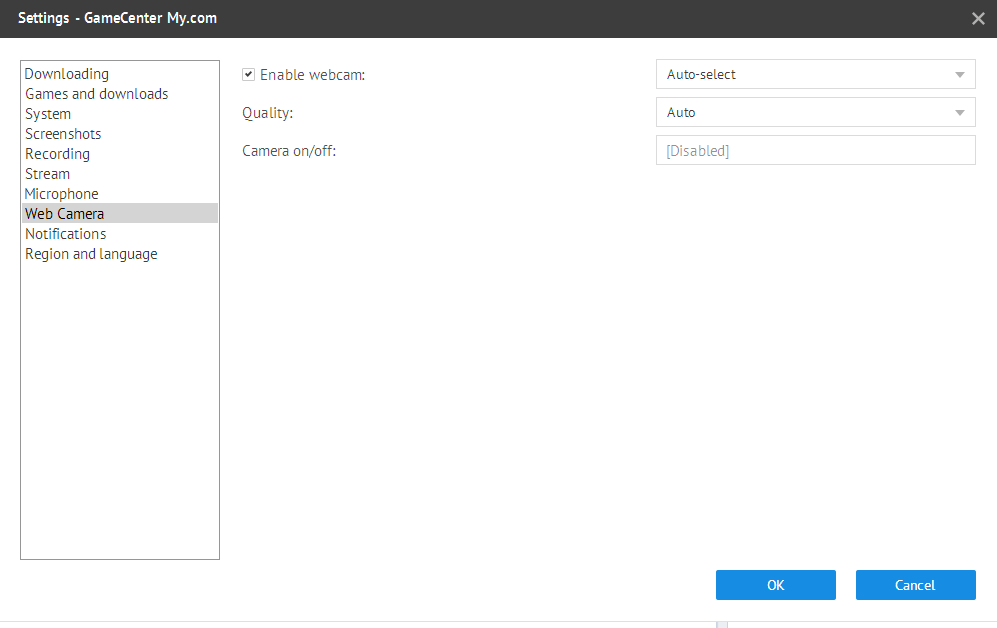
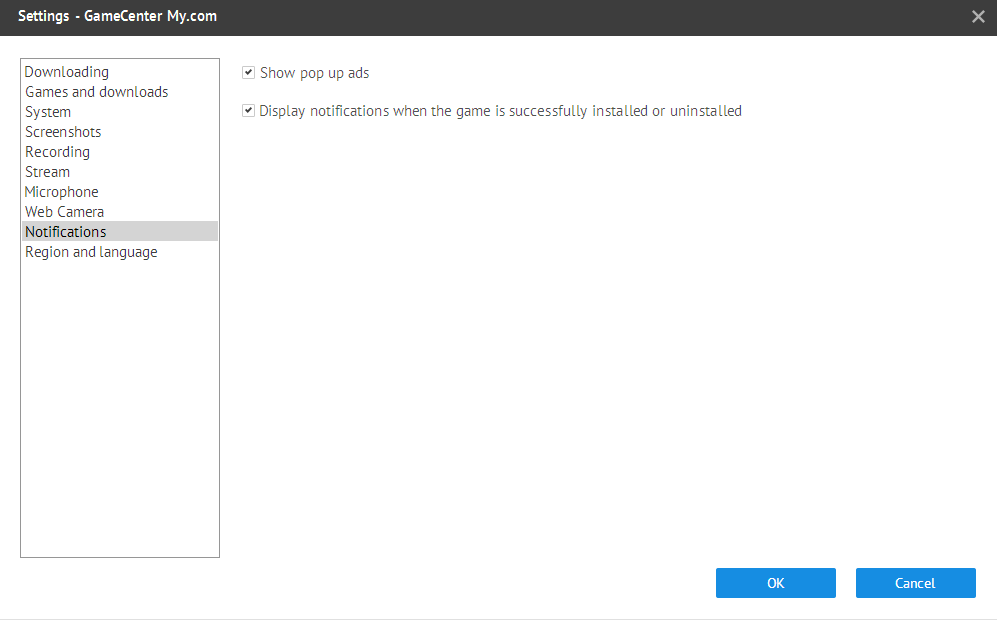
Below are screenshots of GameCenter in English

Make sure that you uncheck “Start automatically when you log in to Windows”.
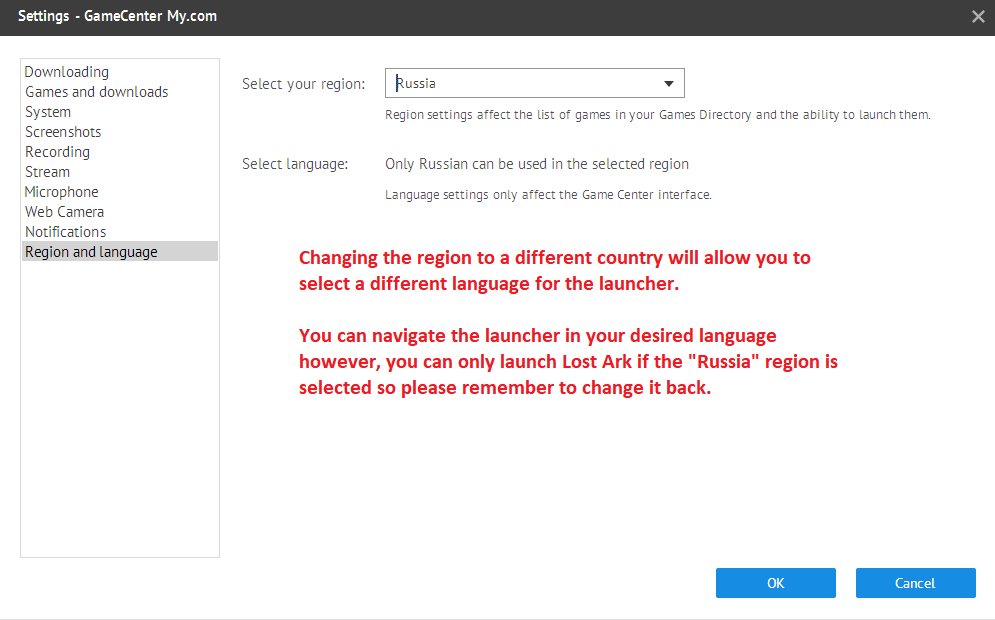
Make sure when changing the launcher to English, you change it back to Russia region to launch Lost Ark!
Source: youtube.com

Last Opinions